It's a beautiful Spring day, instead of going out and enjoying it, I am teaching myself how to crimp and create JST-XH connectors.

I based this post on the video here; also instructions on the back of the crimping tool...I am writing all of this down because in 3 or so days I will forget all of this.
WHAT TO BUY
I got generic made-in-China JST-XH female pins from Amazon, they came in a pretty big reel.

...the crimping tool:
 |
| I couldn't get the exact tool in this video, but these Engineer Precision Connector Crimping Pliers were Amazon's choice, looked just like what is in the vid, and worked great. Hope the link here still works.... |
And of course, hook up wire (I used 24 gauge but I imagine 20 to maybe 26 will work) as well as some decent wire strippers.
PREPARING AND MEASURING THE PINS
 |
| Using diagonal pliers I cut away the extra metal on the right, behind the pin. |
Next I pushed the rear fan on the pins until the were parallel and then measured their distance:

Came to 1.85mm, that meant I had to use the 1.9mm slot in the tool.

BTW: the female pins themselves are really small, I didn't wear magnification to do this work, but probably should have.

CRIM-PIN
Next I stripped the hookup wire, exposing about 1.5mm. This has to be done with a fair degree of accuracy. This was described well in the video at about :20.
Then I used needlenose pliers to gently affix the cable into the pin, otherwise the damn thing kept falling out of the tool before I could crimp. I found I didn't want to overdo things here, just a bit of pressure, to keep the pin in place, was most effective:

Then I oriented the pin with the tool--the orientation needed was not self-evident! It goes with the open end of the tabs into the larger slot of the tool:


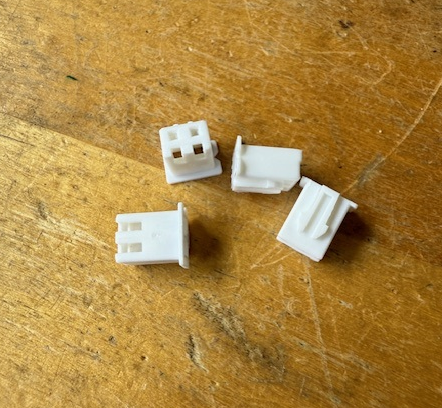
Finally I shoved the pin into the shell. When it worked, I got a nice little click.

Repeated ad nauseum for the entire project.


The world is a happy place!
See you next time.


No comments:
Post a Comment