Sunday, August 29, 2021

STM32/ARM Microcontrollers--Choosing the next MCU--and: ARM assembly

After a few months of digging into Embedded C on the AVR 8-bit processor family a problem emerged: the Atmel 328P processor wasn't fast enough for some audio DiWhy circuits I wanted to design and build.

This became most apparent when rewriting the Dirty DigitalLFO code to use lookup tables. Maximizing my AVR embedded C code to produce a decent ramp wave via memory lookup had an output frequency that topped out at about 300hz. 

This was fine for a Low Frequency Oscillator. Designing and building a professional sounding wave table based audio oscillator with an output frequency ranging from 20hz to 20khz, using only an AVR 8 bit, might be pushing the limits of the hardware.

The obvious thing was to get my hands on a faster processor--one that has a processor speed well above the 328's 16-20Mhz speed limit and its restrictive 4-5Mhz limit for SPI.  

My search came down to two processor families for future DiWhy adventures: the RP2040 and the STM32.  

Choosing between these two was a bit difficult. The RP2040 is inexpensive, powerful, and extremely well documented. It also has an interesting peripheral--"PIO pins".  

I need to discuss PIO with my urologist at some point but not for this post. 

For me RP2040's have a big problem: they are only available in QFN  SMD packages. This means the IC has no exposed pins for soldering since its solder pins are under the IC. Which makes fabricating custom RP2040 dev boards at home, using a hot air SMD solder process, difficult and/or impossible. I am not sure why RP made this choice, to make the chip fit on smaller boards?  Fortunately existing RP2040 development boards are affordable so I will probably go that route in the future.  

How about STM32?

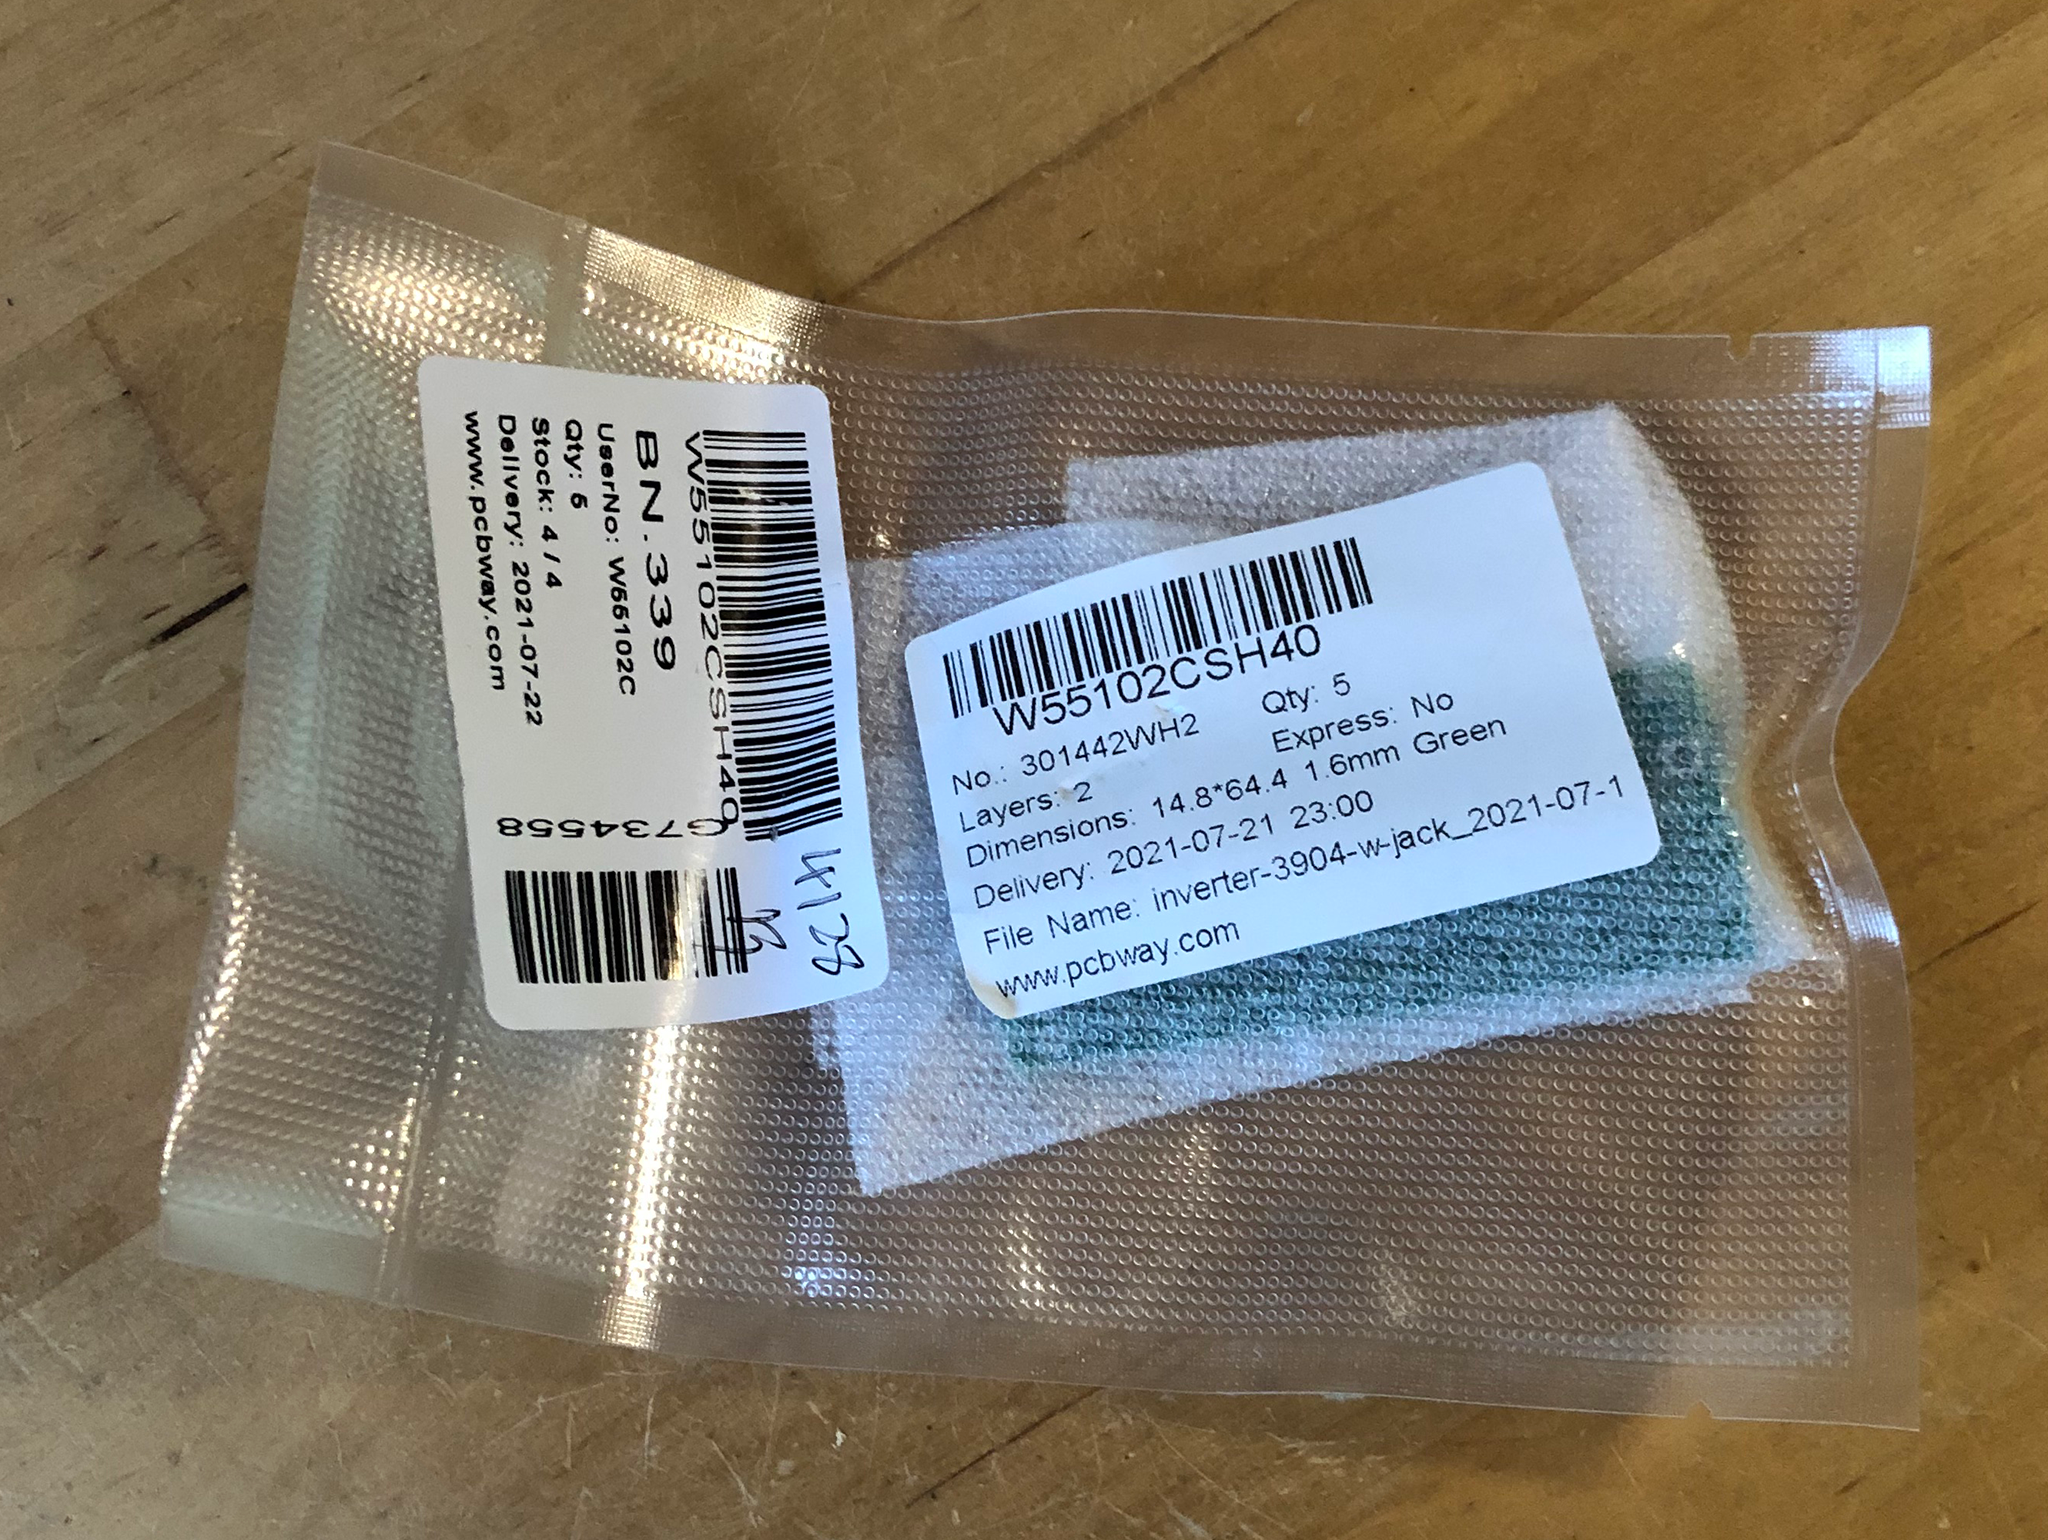
The processors look a bit easier to solder....and, there are plenty of affordable STM32 development boards on the market, ready for experimentation; I chose a Blackpill and a Nucleo F031K6. 

Blackpill...

Nucleo F301JK6....


Next question: what development platform(s), aka "toolchains" to use? 

The STM32 family is quite popular and there are many IDEs to choose from; I have gotten comfortable with the toolchain I've been using for AVR, but none of that works for STM32. 

After discussing with some pro EE's I know, I downloaded and installed free versions of STMcubeMX and Keil on my trusty lab NUC PC

 A really good video series for getting started with STMcubeMX is by Mitch Davis, here. He has good AVR embedded C content as well! And--hear Mellow Count Dracula explain the CubeMX IDE setup here. Cool! 

Likewise, for Keil, check out the video here.  

Lots of new things to learn--for instance, DMA and I2S will be used extensively in future projects, and both these development boards support them, while Atmel 328's natively do not.   

Good news, after an evening's work, I can get embedded C blink and debug to work using the useful STM HAL library. Follow the excellent video here

Update: RP2040 toolchain is also configured--posts start here.

 Let's next discuss ARM assembly.  Both STM32 and RP2040 uses this instruction set architecture.

But first--why an ARM processor? The good folks at ST.com didn't want to design an instruction set for their STM32 MCUs from scratch, so they did what many other tech manufacturers do--including Apple and Samsung--they licensed a suitable processor from ARM and built that into STM32's.

Raspberry Pi Foundation did the same with their RP2040.

Other than writing 1's and 0's directly to the processor--good luck with that--ARM assenbly programming is as low as I can go.   

As you might imagine, assembly is much tougher on modern ARM processors than say a 6502. But let's roll up our sleeves anyway.  

To get my feet wet with ARM assembly I figured a path of lesser resistance is to learn ARM assembly on a Raspberry Pi 4 Single Board Computer ("SBC").  

The latter has the ability to display the assembly program's output to a monitor for instance--not as easy with an embedded processor for an assembly beginner like me.

I bought a textbook from Amazon--"Raspberry PI Assembly Language Programming" by Stephen Smith. See the github here--even if you don't buy the book, its code examples are free....the book goes over every 1 and 0 for ARM assembly, it's extremely detailed, so I'll use that as a programming reference.

Next, I incorporated a Raspberry Pi4 into my lab as the target for ARM assembly language madness.  

Again, there were a lot of ways I could have set this up, and here is how I did it, and yes, i got "hello world" written in ARM assembly to work without having to leave my W10 development computer....the rest of this post explains the steps I took:

Raspberry Pi4's are cheap, reasonably fast, run the greatest DIwhy OS made (Debian, baby!), and thus there is no reason any AudioDiWhyer shouldn't have at least on on his or her bench.

The rest of this post also assumes you have a decent knowledge of Windows and Linux OS. There are so many videos and web pages about all of this I won't bother linking everything but if you get stuck let me know I will try to help....here we go:

Get latest Rasberry PI OS--32 bit.   

Install on RPI4, make sure PI boots, etc etc etc.--a page for RPi setup is here.  

Install the xrdp  RDP server for RPI.  That way we can see graphics on a "headless" RPi4 computer from Windows:

sudo apt install xrdp

sudo adduser xrdp ssl-cert

from: https://linuxize.com/post/how-to-install-xrdp-on-raspberry-pi/

test RDP:

from rpi terminal:

sudo ifconfig

and note IP in stdout.

from Windows 10, run mstsc (RDP client) using the IP you noted just above.  

You should see your xorg RPi4 login screen; login.  If it all works it will take you to your RPi desktop.  

So far, for me, this all works.

Next, we need to set a static IP address.

I set RPi to static IP to 192.168.4.200 as local IP; gateway as 192.168.4.1, and used 8.8.8.8 and 1.1.1.1 for DNS servers; your IPs will be different):

sudo vi /etc/dhcpcd.conf

(change stuff you need to change)

and save your dhcpcd.conf file.  

Details about how top do this are here:

https://thepihut.com/blogs/raspberry-pi-tutorials/how-to-give-your-raspberry-pi-a-static-ip-address-update

Reboot RPI:

sudo shutdown -h now

After reboot, test RDP from Windows again with the static IP.

For me, RDP still works!

Next: let's share saved data between Windows and RPi.

On windows system, run lusrmgr.msc ("loser manager")

  • create new local W10 user PI and add to admin group
  • share out folder(s) on C; 
  • give your PI local user full rights to share

MS post detailing how to set up CIFS shares and rights for Windows is here.

OK, next, finish getting your RPi4 talking CIFS with windows:

Go back to RPI

Run term:

cd /mnt

sudo mkdir audiodiwhy

run this command:

sudo mount.cifs //aa.bb.cc.dd/audiodiwhy ./audiodiwhy -o user=pi,password=xxxx

where aa.bb.cc.dd is the IPV4 address of your windows system and xxxx is pwd for local windows user you created above.  

Your folder names of course can be whatever you want.

next, cd to mnt/audiodiwhy:

cd /mnt/audiodiwhy

Do a directory listing:

ls -ltru

I can see the Windows folders from the mnt now. 

Next: Create a subfolder from RPi4 on your Windows system. Make sure your target windows folder has Linux read/write rights set; very permissive rights would be something like this:

sudo mkdir /mnt/audiowhy/write2here

sudo chmod 777 /mnt/audiodiwhy/write2here 

...and test everything by creating a text file, something like this:

sudo vim mnt/audiodiwhy/write2here/test

I can now see all the windows C data from the linux machine using RDP (by the way, SSH works as well, and might be preferable for some users, here is how to set up Rpi4 to allow it.  

This all works, we are writing new files to the windows system from the RPi4 using vim!

So you are RDPing or SSHing from W10 to RPI, then using CIFS to go back to Windows storage from Linux

Super COOL!!!!

(I mostly did this to add files etc to c:\users\audiodiwhy\dropbox since dropbox client isn't currently supported on ARM processors. But in general you can seamlessly save and open files on Windows from linux RPI using RDP in this manner--not 100% necessary, but very useful!)

Assembly time:

Now that I have my headless RPI4 working, I will create my assembly .s, .o, build etc., on the RPI Linux system but save them in dropbox windows (why not?),  that way everything lives in the cloud and is available whenever I have an Internet connection.

So on W10 system in c:\users\audiodiwhy\dropbox I created a folder /assembly/arm

Then I create these 2 files using the RPI gnome text editor --or vim or whatever you like, also, the code for these 2 files is available in  Chapter one of the github mentioned above (go here).  

HelloWorld.s

============snip=================

@

@ Assembler program to print "Hello World!"

@ to stdout.

@

@ R0-R2 - parameters to linux function services

@ R7 - linux function number

@


.global _start @ Provide program starting address to linker


@ Setup the parameters to print hello world

@ and then call Linux to do it.

_start: mov R0, #1 @ 1 = StdOut

ldr R1, =helloworld @ string to print

mov R2, #13 @ length of our string

mov R7, #4 @ linux write system call

svc 0 @ Call linux to output the string


@ Setup the parameters to exit the program

@ and then call Linux to do it.

mov R0, #0 @ Use 0 return code

mov R7, #1 @ Service command code 1 terminates this program

svc 0 @ Call linux to terminate the program


.data

helloworld: .ascii "Hello World!\n"

============snip=================


Now create another file called build

============snip=================

as -o HelloWorld.o HelloWorld.s

ld -o HelloWorld HelloWorld.o

============snip=================


from rpi term run this:

sudo ./build

this creates .o file, helloworld.o, objdump.txt etc as well as compiled HelloWorld we can run.

now let's run it!

sudo ./HelloWorld

STDOUT indeed shows HelloWorld on the screen--it all works!

OK, can we turn a C file into assembly, so we can see how the compiler is going to treat our c code? Of course!  Ctest.c is another helloworld....but this time written in C, not assembly.

sudo gcc -g -O -c ./ctest.c

That produces a .o file, which we can then dissassemble:

objdump -s -d ctest.o

Output is assembly:

00000000 <main>:

   0:   e92d4010        push    {r4, lr}

   4:   e59f0008        ldr     r0, [pc, #8]    ; 14 <main+0x14>

   8:   ebfffffe        bl      0 <puts>

   c:   e3a00000        mov     r0, #0

  10:   e8bd8010        pop     {r4, pc}

  14:   00000000        .word   0x00000000


More fun than a barrel of monkeys!!!  

OK that's enough for now.  Lots on the bench, I will continue with STM32 and RP2040 low level madness in future posts. Until next time:  Eat the PI, Don't breathe the ST(ea)M!


Sunday, August 22, 2021

Digital FUN-damentals: Inputs, Outputs, and a great + free Sim

Couldn't help the wordplay.

While reading datasheets for digital IC's general purpose I/O ("GPIO") pins I kept coming across electrical engineering terms that seemed opaque.  

For instance, what is a "HiZ" state for a input/output pin?  How about an "open collector"?  What is "push pull?"  

Continuing the discussion from the last several posts: let's review some basic terms used in digital circuit design. Also: I also found a great logic simulation application for Windows, Linux and so on called Logisim Evolution. 1001+ uses! I'll briefly discuss this cool digital simulation software towards the end of this post.

Electronics terms--"what I think they mean". Pro EE's and all those smarter than I am: please correct in the comments below if you find mistakes or feel something isn't clear.

First up: 

GPIO fundamentals--"Hi Z"


I summarize HiZ to mean "nothing hooked up here".  

Here is an example: a processor's input pin is connected to something, but in HiZ mode the pin fools what it is connected to into a sense that nothing is connected to it. 

In this condition, the input pin is neither seen as a digital "high" nor "low--it is in HiZ mode. 

When and why would you need that? 

A common use for HiZ is when you have a bus of shared components; that is, all components share a single trace. 

See the post here. The idea of "chip select" is fundamental to the discussion, and to digital circuit design in general. When CS is high (5v for instance), the data input becomes "HiZ", allowing other chips using to use the same data bus to not be impacted (shorted, for instance) by a chip whose connected pin must be ignored.

In my drawing above, the Chip Select is represented by the "C" input.  

Acroynms for "Hi-Z" are "tri-state", "tri-stated", has "tristate logic" and/or (somewhat confusing) "floating".  

Frequently GPIO pins on microcontrollers will be tri-stated.  On Atmel MPUs it is a feature you can turn on and off by poking bits into its MCU's registers.  See the document here section 12-4 which covers the Atmel 165.  A code example in C for this processor would be this:

PORTA &= !(1<<PA1) 

DDRA &= !(1<<DDA1)  

Interesting to note that you can change these states "on the fly" via code; the processor will respond nearly instanteously.  There are many interesting applications for this--I have used it to ground out an op amp buffer's inverting feedback loop for example--post for that specific application is here.  


next up: 

"Open Drain"

 Note: I use a transistor in my bench drawings below, but that's to make this easier to visualize, most modern IC's use some sort of FET setup internally for GPIO.


I also sometimes see this same idea called "Open collector".  

A drain is found in MOS technology while a collector is a term found in old school transistors, but the two terms are sometimes used interchangably, even when one describes most modern digital I/O better than the other.

How does "open drain" work and what does this mean? 

The circuit fragment above represents an open collector; everything to the left is built into a microcontroller or other digital integrated circuit.

How do you use this?  The output is energized by the IC, creating an electrical connection between C and E (or in MOS terms, drain and source). 

To make this useful in the real world, we often use a pullup resistor as you see drawn below: 


Using this simple design, you are not sourcing any current from the MCU, rather from VDD.  This is beneficial in general as you don't want your IC's to source current; you want your power supply to source current.

Let's next see this used as an input. it's the same idea.

Even better: some processors and digital ICs have the pullup resistor built into the chip, meaning one less part for your design. The Atmel 328 for instance has the feature, available through programming (for arduino sketch, here; syntax is something like 


pinMode(2, INPUT_PULLUP)


for C and Atmel 328's registers code is like this: 


DDRC = 0;
PORTC = (1 << 5)


......see the tutorial here.


The final idea:

"Push Pull"

This is where a pin on the MCU can source or sink current....not endless amounts, so we must limit the current with resistors as needed and in general design our loads and current sources with some forethought, but for applications where you want to source and sink relatively small amounts of current it's a useful feature.

If more push/pull current is needed, you'd need external components--say, driving a solenoid.  

With all these terms in mind I can now better understand IC datasheets. 

Of course there are a lot of other web pages about all of this--here is a good summary....another good summary page including C programming examples for AVR 328 is here.  

All these concepts will come up again in future posts.

Logisim Evolution: Amazing Digital Simulator!

I was eating breakfast and watching youtube geek videos about GPIO pins and came across this:

https://www.youtube.com/watch?v=gYmDpcV0X7k

The vid above is a tutorial for this incredible free sim: LogiSim Evolution. Wow!  

I probably would have never heard about LogiSim Evolution unless I was always watching CuriousMarc--finding this app alone makes it worthwhile watching a hours of his guys practicing digital kung fu.....I never miss a CuriousMarc vid. I really enjoy how CuriousMarc, the righto.com guy, Ken, and the rest of the CM crew, show off their jaw dropping digital engineering skills, full Eddie Van Halen style, it's a great channel.  

I went through the tutorial and then used Logisim Evolution to better understand something very basic that never made a lot of sense to me: flip flops.


In about 5 minutes I wrote up simple sims for JK, T and D flip flops. Now I think I understand them a bit better. Of course there is more to understanding this corner of digital electronics, and I could have spent hours watching vids on each (Ben Eaters JK vid, great as usual, is here) and LogiSim Evolution makes it that much faster to get started.

Oh yes--LogiSim Evolution is free!  Free? Are you kidding me? Update: you can get my Logisim's-- few CMOS chips and other logic newbie tidbits on Github, here)

The obvious question: why play video games when you could be messing around with gates?

That's it for now--all typing, no breathing fumes. Back to the bench. See ya next time.


Friday, August 13, 2021

Dirty Digital LFO--Done? Time to Move on? Um...no.

Progress! I have the dirty digital LFO, Atmel 328/Embedded C based, in my rack, modded, and it works.  

In the past week or so I've added new features to the circuit posted here.

Question is, am I done?  Nope.

 At the very least, the Dirty Digital LFO needs a new front panel. After further testing I'll do that and update this post with a better looking photo and yes--it's coming--a new "pots board" PCB, replacing the bevy of daughterboards, kludes, and mods with something that is like likely to catch fire.

For the history of the Dirty DLFO design and build see previous posts are here, here, and here.  The "minimal" Atmel 328 PCB is discussed here (github for it is here--the Atmel 328 processor is on its own PCB for this build, so you will need the minimal Atmel 328 PCB to build the entire module).

Here's what I added:

  • A waveform "Riley" reset (named after the synth guy who told me I had to add this feature), using the 3904 inverting buffer and an external interrupt, post for this subcircuit and 328 external interrupt basics is here. When the interrupt #1 pin goes low, the waveform is impacted--for instance, saw is reset to full CV.  the idea: on the downbeat start the waveform over. Get on the dance floor n' boogy, Holmes. Cool.  
  • 4 new waveforms: saw, S/H (not really a waveform....) and 2x random CVs.

The problem (?) is that the module as racked today is an amalgam of daughter boards, standoffs, 4/40 screws, hookup wire, and snot.  

I have had issues with heavily modded projects catching fire (read more here--one of my most popular posts--why, scotty, why?) so this poor fabrication makes me--uneasy?  But for now it's in my rack.  

I was too lazy to take off the front panel for the Riley reset mod....


The inverter board (post here) for "Riley Reset" is installed. thanks to PCBWAY for fabricating this board and sponsoring the AudioDIWHY blog.

A portamento board was added to the output, to cut the grit and provide a "lube" out. Post for portamento is here; I used a .68 cap, not 22uF as in initial post, as well as a 100K lin pot; might sub out 50K down the road.

The thing that's driving me nuts right now is that I need to redesign this whole thing again. In addition to getting rid of the daughterboards as a safety precaution, it would add a lot of functionality (and not too difficult) to add buffered/clamped CV control to the output offset via a jack and additional op amp, as well as BOWAL control (previous post here) to the CV input. That would make the module more useful.

Problem is with my day job, music, family, everything on my bench and all the rest I may not have time. 

Shutup and just do it....

Modified with Riley reset only.  I put a new processor chip on to the dev board before adding the waveform reset and new waveforms to firmware. If I completely screwed up the code I could go back to a chip that I know worked. Turns out I didn't and the new waveforms worked.


In action...
 

As usual I have posted everything for the project on Github....The updated C code, PDFs of schems, gerbers, wiring diagrams etc. etc. used in the project is here. Comment if you have questions about any of this.

Forward? I am not sure what to do next. Part of me wants to rebuild this with a waveform lookup table, but also I am getting ready to start working on a project using STM32's--first time I've worked with ARM.  too many things on the bench--a good problem to have. Update 8-29-21: I've created a new pots board gerber and set it off to fab. Also a slighly improved minimal AVR dev board. If I can get that to work I'll update the github and maybe create a final post for this module. 

Update 10-31-21: Rev 2 of this design is done and works, I've added additional features for even more bizarre waveforms at output. It's also a lot cleaner without the daughterboards etc. Post is here.

See ya soon.


Wednesday, August 4, 2021

Atmega 328P: Dirty Digital LFO--Putting External Interrupts to Work

Hello again! If you've been following this blog, I am turning away from hobby-friendly Arduino audio projects for a more "bare metal" approach using Embedded C. 

A general post about this transition is here

In my studio I am happily patching an Atmel 328 Embedded C  Digital LFO I designed and built a few weeks ago, posts are here and here

Now it's time to add more quirks and features to the LFO because software is never finished. 

How about a waveform external reset? So: when you send the LFO a gate signal, the waveform produced "starts over".  Why not?

Lots of ways to do this. 

An easy way would be to use an external interrupt. The idea: when a gate signal is present at an input jack, the MCU puts whatever it's working on on the stack then runs an interrupt routine--for example, setting a waveform voltage being sent to a DAC back to 0.  


Working proof of concept: Atmel 328 External interrupt, AudiodiWhy style


A good description of using this on an Atmel 328 is here--you can generate the interrupt many ways, but I will code this to do something on a falling edge signal present at the MCU's pin D2. 

This will be used in a modular synthesizer so this trigger signal needs to be buffered. Imagine the outcome of hooking a 20V signal to the D2 pin; you could damage the MCU. 

I was thinking of  modding the DLFO code and its hardware directly to accommodate but had second throughts. I have never experimented with external interrupts on an Amtel 8 bit processor....so let's do a Proof of Concept first, then apply the improvement, once it's working, to the DLFO.  

OK! First up: what hardware to use? 

I already fabbed a "minimal Atmel 328 MCU board", post for that is here. Think of this as an Arduino Uno with every spare pound thrown over the side--for this POC I will use one; it is thru-hole construction and took about 20 minutes to build.

Next I hooked the MCU circuit to an inverter/buffer pcb I designed; I had the PCB fabbed fast by this Blog's new sponsor, PCBWAY. Thanks to PCBWAY for the help! 


Here's the board packaged and ready to go, it arrived in the US 5 days after I ordered it.....go PCBWAY!


  The PCB I had fabbed for this modification is a very simple single NPN transistor inverter:

The output is high (V+ without R1 and R4 as a voltage divider otherwise) until the input 3.5"jack is  about > 1V relative to ground at its input, then the output goes low.  

Good news, the board worked first time--this is a simple circuit, I would have been upset if it didn't:

Layout for the inverter/buffer  


Working gate inverter/buffer


On a scope: output's high usually but we get a transistion to ground for each gate present at its input. 

Super Easy!  Here's a 3 or so second video.....output goes low when input goes high.


Let's Code! I wired the inverter to the dev board like this:

Simple!


And used this code--its a single main.c file.  This code works with the minimalist AVR 328 board posted here.

/*
 * ExtInterrupt_test.c
 *
 * Created: 8/4/2021 11:04:21 AM
 * Author : audiodiwhy
 */ 

#include <avr/io.h>
#include<avr/interrupt.h>

volatile int led;
ISR (INT0_vect)          /* Ext interrupt_zero ISR */
{
PORTB ^= (1 << PINB0); /* toggle DDRB PB0 */
}


int main(void)
{
        DDRB = 0b00000011;  /* PB0 and PB1 for output */
        DDRD=0x00; /*D ports are inputs; D2 and D3 are INT0 and INT1 */
        EIMSK |= 1<<INT0;  /* enable external interrupt 0 */
        EICRA |= 1<<ISC01; /* interrupt on falling edge */
     
        
        sei();     /* Enable global interrupts */
    while (1) 
    {
    }
}


Viola! Worked. Each gate's rising edge lights or extinguishes the minimal MCU's built in LED.  So I made a somewhat overly complex and fancy flip flop. Good enough.


Now I'm ready to pull the DLFO out of the rack and try to add the interrupt code and inverter PCB/input jack'buffer to it. Note: older post about interrupt for the Arduino Sketch world is here

I figure it will be an easy mod, but who knows? 

Thanks again to PCBWAY for out helping out.  I've been schtooping this blog along for a few years now, and in case you didn't notice, I need all the help I can get.

We'll finish L-FOTUS INTERRUPTUS Dirty Digital LFO next time.  Update: modified DLFO post is here.   Update to the update, 10-31-21: Rev 2 of the LFO is here, which incorporates the interrupt subcircuit just discussed, as well as many other improvements.  


Anything to Clock Subcircuit

Readers:  If you want to build the project featured in today's post, please go to  PCBWAY's  Community pages --a gerber ready to dow...